
Stamps
Stamps are hand-drawn icons such as mountains, hills, and trees. Scattered across the map, they help give it a real-world feel. Stamps are part of the map background and are drawn beneath regions and markers.
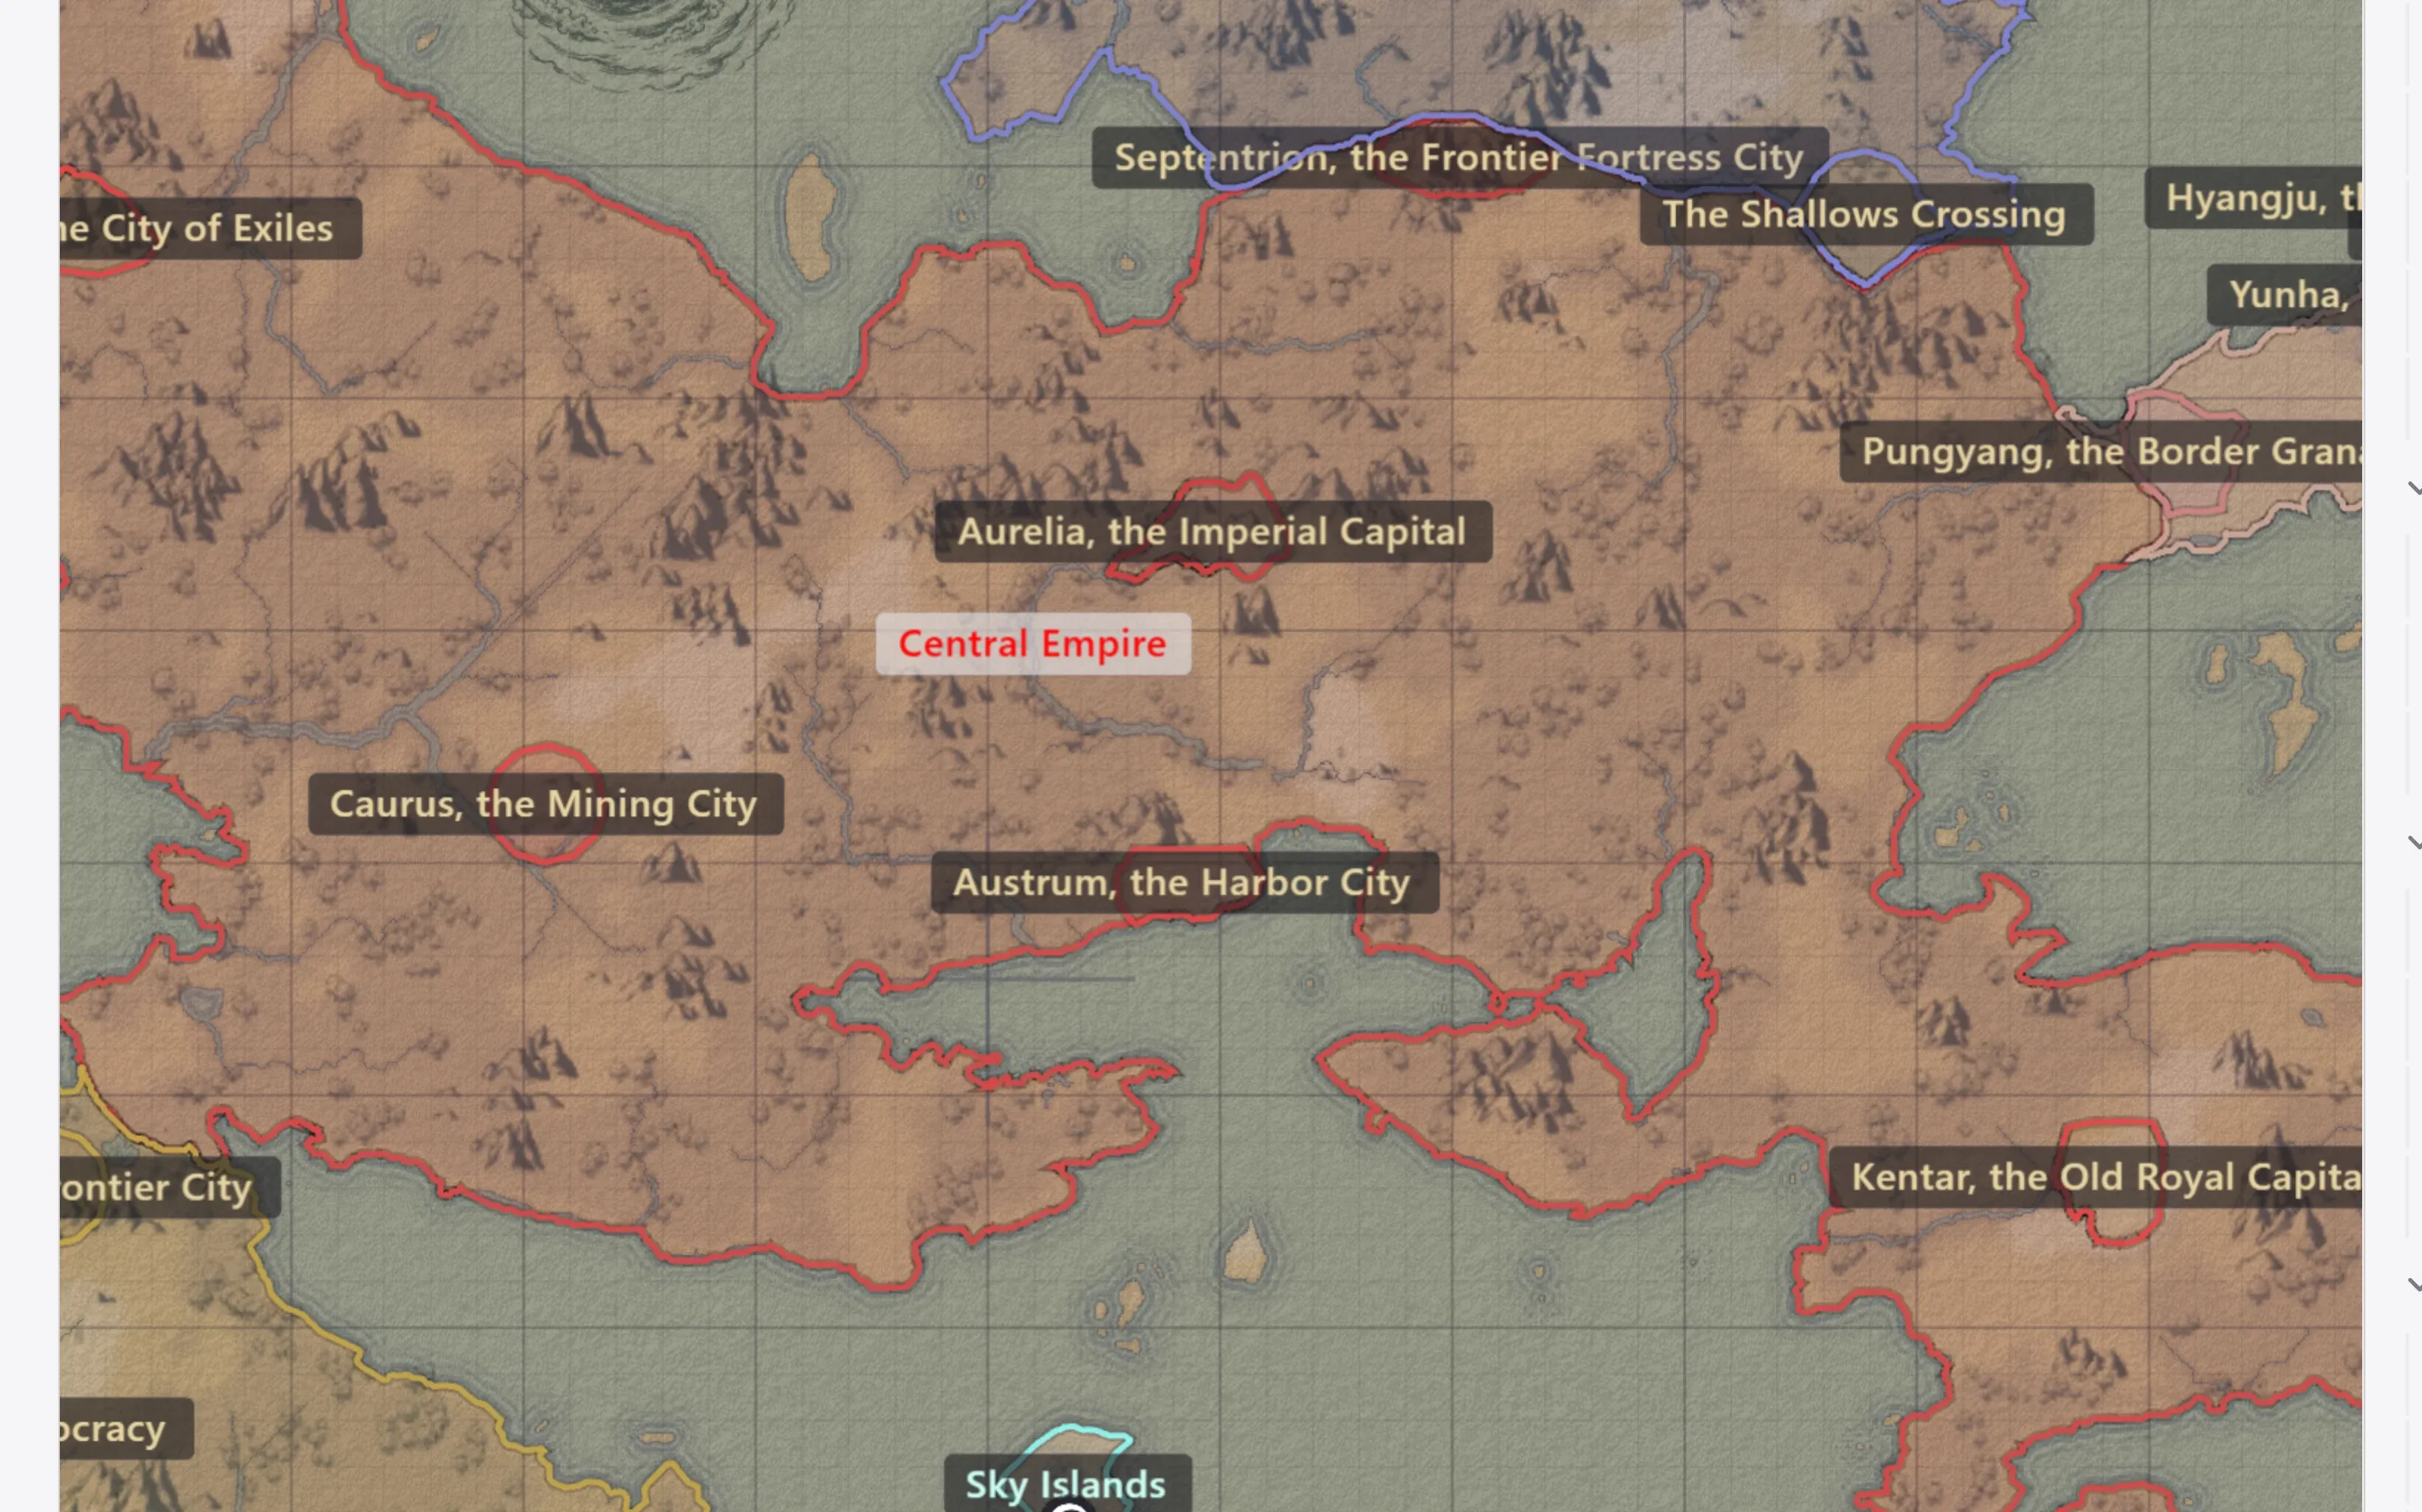
Placing them
Section titled “Placing them”Select the Stamp tool in Background edit mode. Pick a category and a stamp in the right panel, then drag on the canvas to place them. Adjust the size in the bottom options bar, and turn on the erase toggle to remove placed stamps.
The built-in categories are peaked mountains, round mountains, round trees, pine trees, hills, and desert.
To scatter stamps automatically along with terrain generation, use the terrain generator’s stamp placement.
Picking a stamp (right panel)
Section titled “Picking a stamp (right panel)”With the Stamp tool selected, the right panel shows every category’s stamps.
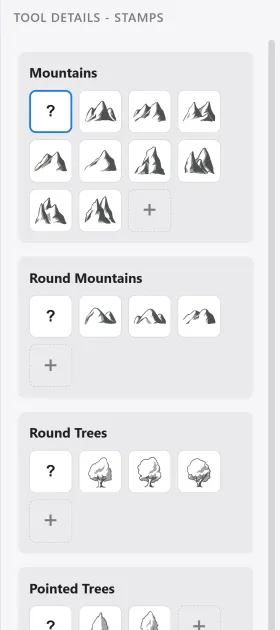
| Element | What it does |
|---|---|
| Thumbnail | Click to make that stamp the one being placed. |
? | Random. Each placement drops a random stamp from that category. |
+ | Registers your own stamp with Add image. |
| Add category | Creates a new category. Categories you created can be deleted. |
Color and size (left panel)
Section titled “Color and size (left panel)”The Stamps section in the left panel adjusts the color and size per category.
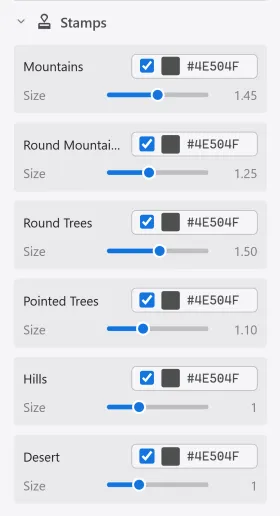
| Element | What it does |
|---|---|
| Colorize | When on, stamps draw as flat silhouettes in the chosen color; when off, the original art is used as is. |
| Color | The color used by colorize. |
| Size | The size multiplier for that category’s stamps. It also applies to stamps already placed. |
These values are saved into style presets.
Your own stamps
Section titled “Your own stamps”Register your own stamps with Add image. Drag to choose the area to use; a preview of the stamp on the ground is shown along with the height range of the other stamps in the category. A PNG with a transparent background is recommended. You can also create new categories to group them.